
 5秒后页面跳转

| 型号 | 品牌 | 获取价格 | 描述 | 数据表 |
| 314075-1 | TE |
获取价格 |
Cumulative Trauma Disorders can result from the prolonged use of manually powered hand too |

|
| 314076-1 | TE |
获取价格 |
Cumulative Trauma Disorders can result from the prolonged use of manually powered hand too |
|
| 314077-1 | TE |
获取价格 |
Cumulative Trauma Disorders can result from the prolonged use of manually powered hand too |
|
| 314077-2 | TE |
获取价格 |
Cumulative Trauma Disorders can result from the prolonged use of manually powered hand too |
|
| 314078-1 | TE |
获取价格 |
Cumulative Trauma Disorders can result from the prolonged use of manually powered hand too |
|
| 314078-2 | TE |
获取价格 |
Cumulative Trauma Disorders can result from the prolonged use of manually powered hand too |
|
| 314079-1 | TE |
获取价格 |
Cumulative Trauma Disorders can result from the prolonged use of manually powered hand too |
|
| 314080-1 | TE |
获取价格 |
Cumulative Trauma Disorders can result from the prolonged use of manually powered hand too |
|
| 31408-1080 | MOLEX |
获取价格 |
USCAR 2.54mm (.100”) Pitch Receptacle, 8 Circ |
|
| 31408-1081 | MOLEX |
获取价格 |
USCAR 2.54mm (.100”) Pitch Receptacle, 8 Circ |
|
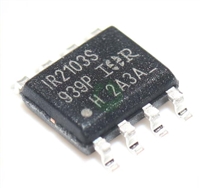 深入解读IR2103资料手册:引脚说明、电气参数及替换型号推荐

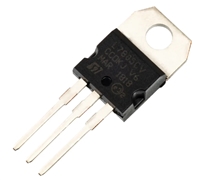 L7805CV手册解读:引脚说明、替代型号推荐、好坏检测
 MMBT5551资料手册解读:电气参数、替换型号推荐
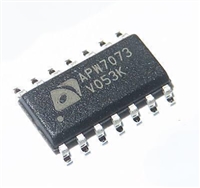 APW7073资料手册解读:产品特性、引脚说明、替换型号推荐
工作时间:9:00-21:00
CEO邮箱:ceo@jiepei.com
投诉邮箱:tousu@jiepei.com


 浙公网安备 33010502006866号 浙ICP备10014259号-119
营业执照ICP证
浙公网安备 33010502006866号 浙ICP备10014259号-119
营业执照ICP证


