
 5秒后页面跳转

| 型号 | 品牌 | 获取价格 | 描述 | 数据表 |
| Q60VR3LAF2000Q1 | BANNER |
获取价格 |
Q60LAF Series Laser Adjustable-Field Sensors |

|
| Q60X25K6TP | LITTELFUSE |
获取价格 |
TRIAC |
|
| Q6200D | ETC |
获取价格 |
ASIC |
|
| Q6200J | ETC |
获取价格 |
ASIC |
|
| Q62607-S60 | INFINEON |
获取价格 |
Silizium-Fotoelement Silicon Photovoltaic Cell |
|
| Q62607-S61 | INFINEON |
获取价格 |
Silizium-Fotoelement Silicon Photovoltaic Cell |
|
| Q627002G0078 | INFINEON |
获取价格 |
GaAs MMIC (Tri mode power amplifier for AMPS/ CDMA /TDMA portable cellular phones) |
|
| Q62701-F51 | INFINEON |
获取价格 |
PNP GERMANIUM RF TRANSISTOR |
|
| Q62701-F72 | INFINEON |
获取价格 |
PNP GERMANIUM RF TRANSISTOR |
|
| Q62701-F88 | INFINEON |
获取价格 |
PNP GERMANIUM RHF TRANSISTOR |
|
 压敏电阻器在直流电路中的过压保护应用探讨

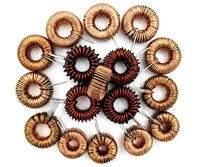 电感耐压值及其与电感大小的关系
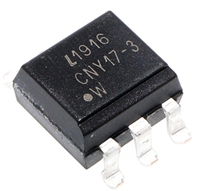 CNY17F光耦合器:特性、应用、封装、引脚功能及替换型号解析
 DS1307资料解析:特性、引脚说明、替代推荐
工作时间:9:00-21:00
CEO邮箱:ceo@jiepei.com
投诉邮箱:tousu@jiepei.com


 浙公网安备 33010502006866号 浙ICP备10014259号-119
营业执照ICP证
浙公网安备 33010502006866号 浙ICP备10014259号-119
营业执照ICP证


