408-9973
3. Place a contact with wire into the proper nest and
close the tool handles until the ratchet reaches the
sixth click, or until the contact support touches the
contact.
the length indicated in Figure 1, taking care not to nick
or cut wire strands. Select an applicable contact and
identify the appropriate crimp section according to the
wire size markings on the tool. Refer to Figure 3 and
proceed as follows:
4. Slightly loosen the nut that holds the locator
assembly onto the tool frame.
1. Hold the tool so that the back (wire side) is facing
you. Squeeze tool handles together and allow them
to open fully.
5. Move the contact support as required to eliminate
the bending of the contact.
2. Holding the contact by the mating end, insert the
contact - insulation barrel first - through the front of
the tool and into the appropriate crimp section.
6. Tighten the nut and close the handles until the
ratchet releases.
7. Remove and inspect the contact.
3. Position the contact so that the mating end of the
contact is on the locator side of the tool, and so that
the open "U" of the wire and insulation barrels must
face the top of the tool. Place the contact up into the
nest so that the movable locator drops into the slot
in the contact. Refer to Figure 3. Butt the front end
of the wire barrel against the movable locator.
8. Make another sample crimp. If the contact is
straight, tighten the contact support screw. If the
contact is still being bent during crimping, repeat the
adjustment procedure.
5. CRIMPING PROCEDURE
This tool is provided with a crimp adjustment
feature. Initially, the crimp height should be verified
as specified in Figure 4. Refer to Section 6, Crimp
Height Inspection, and Section 7, RATCHET
(Crimp Height) Adjustment, to verify crimp height
before using the tool to crimp desired contacts and
wire sizes.
Make sure that both sides of the insulation barrel
are started evenly into the crimping section. Do not
attempt to crimp an improperly positioned contact.
NOTE
CAUTION
i
!
4. Hold the contact in position and squeeze the tool
handles together until ratchet engages sufficiently to
hold the contact in position. Do NOT deform
insulation barrel or wire barrel.
Refer to the table in Figure 1 and select wire of the
specified size and insulation diameter. Strip the wire to
Locator
Contact
Support
Contact
(Typ)
Adjustment
Back of Tool
(Wire Side)
Screw for
Contact
Support
Strip
Length
Locator
in Wire
Stop Slot
Wire
Inserted
to Stop
Wire
Figure 3
3 of 6
Rev C

 5秒后页面跳转


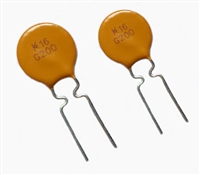 NTC热敏电阻与PTC热敏电阻的应用原理及应用范围

 GTO与普通晶闸管相比为什么可以自关断?为什么普通晶闸管不能呢?从GTO原理、应用范围带你了解原因及推荐型号
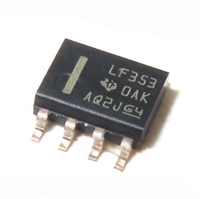 LF353数据手册解读:特性、应用、封装、引脚说明、电气参数及替换型号推荐
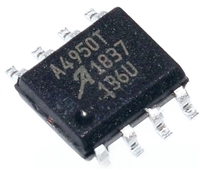 A4950资料手册解读:特性、应用、封装、引脚功能、电气参数及代换型号


 浙公网安备 33010502006866号 浙ICP备10014259号-119
营业执照ICP证
浙公网安备 33010502006866号 浙ICP备10014259号-119
营业执照ICP证


