
 5秒后页面跳转

| 型号 | 品牌 | 描述 | 获取价格 | 数据表 |
| 1901085-4 | TE | IT IS SUBJECT TO CHANGE AND THE CONTROLLING ENGINEERING ORGANIZATION |
获取价格 |

|
| 1901085-8 | TE | THIS DRAWING IS A CONTROLLED DOCUMENT FOR TYCO ELECTRONICS CORPORATION |
获取价格 |
|
| 1901086-1 | TE | THIS DRAWING IS A CONTROLLED DOCUMENT FOR TYCO ELECTRONICS CORPORATION |
获取价格 |
|
| 1901086-2 | TE | IT IS SUBJECT TO CHANGE AND THE CONTROLLING ENGINEERING ORGANIZATION |
获取价格 |
|
| 1901086-3 | TE | THIS DRAWING IS A CONTROLLED DOCUMENT FOR TYCO ELECTRONICS CORPORATION |
获取价格 |
|
| 1901086-5 | TE | IT IS SUBJECT TO CHANGE AND THE CONTROLLING ENGINEERING ORGANIZATION |
获取价格 |
|
 SI2301 N沟道MOSFET:资料手册参数分析

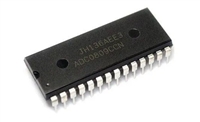 ADC0809逐次逼近寄存器型模数转换器:资料手册参数分析
 AD9361捷变收发器:全面参数解析与关键特性概览
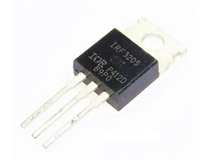 IRF3205功率MOSFET:资料手册参数分析
工作时间:9:00-21:00
CEO邮箱:ceo@jiepei.com
投诉邮箱:tousu@jiepei.com


 浙公网安备 33010502006866号 浙ICP备10014259号-119
营业执照ICP证
浙公网安备 33010502006866号 浙ICP备10014259号-119
营业执照ICP证


